Table of Contents
Siremis v4.1.x - Installation
Author:
    Elena-Ramona Modroiu
Requirements
- Kamailio (OpenSER) 4.1.x installed
- one option to install it is to use GIT repository, tutorial available at:
- Web server (e.g., Apache) with mod_rewrite enabled
- on Debian Ubuntu, you can do:
apt-get install apache2
a2enmod rewrite
- PHP5 with MySQL and GD support
- on Debian Ubuntu, you can do:
apt-get install php5 php5-mysql php5-gd
Download
Latest version of SIREMIS 4.1.x is available at:
- it includes everything, so you do not need to download something else extra
Untar the archive on the local file system (e.g., in your web server root folder):
cd /var/www
tar xvfz siremis-x.y.z.tgz
cd siremis-x.y.z
You have to replace x.y.z with version number for Siremis (for example, for Siremis v4.1.0, replace x.y.z with 4.1.0).
Web Server Setup
If you want to setup an alias for Apache 2.x, you can run:
make apache-conf
and you get the config snippet printed in the terminal – it should look like (of course, x.y.x is replaced by version number):
siremis-x.y.z# make apache-conf
# siremis apache conf snippet ...

	Alias /siremis "/var/www/siremis-x.y.x/siremis"
	<Directory "/var/www/siremis-x.y.x/siremis">
		Options Indexes FollowSymLinks MultiViews
		AllowOverride All
		Order allow,deny
		Allow from all
		<FilesMatch "\.xml$">
			Order deny,allow
			Deny from all
		</FilesMatch>
		<FilesMatch "\.inc$">
			Order deny,allow
			Deny from all
		</FilesMatch>
	</Directory>
You can copy&paste what was printed in the terminal into Apache conf file, inside VirtualHost settings.
For Apache2 on Debian/Ubuntu, the config file is:
/etc/apache2/sites-available/default
After restarting the web server, SIREMIS will be available under:
If you want to use a different alias, edit Makefile and change the value of URLBASE
Local Configuration
Next step is to create .htaccess and Siremis configuration files, you have to run 'make prepare':
siremis-x.y.z# make prepare
updating htaccess file...
updating app.inc file...
done
Make sure that following directories have write access for web server user:
- siremis/log
- siremis/session
- siremis/files
- siremis/themes/default/template/cpl
On Debian/Ubuntu you can do:
siremis-x.y.z# make chown
Do not forget to restart the web server after doing the changes in its configuration file.
Database Configuration
Database server to be used is MySQL.
You have to create a MySQL user that has access to Siremis database, for example:
GRANT ALL PRIVILEGES ON siremis.* TO siremis@localhost IDENTIFIED BY 'siremisrw';
You can run above SQL statement via mysql command line tool, connecting to MySQL server as user root.
This MySQL user will be needed later during the installation, of course, you can use an existing MySQL user that has enough privileges.
Also, you have to create Kamailio database with kamdbctl tool, if you don't have it already:
kamdbctl create
You don't need to do anything else to setup the database of Siremis, the rest of the process is down via web installation wizard.
Web Installation Wizard
Once you have done the steps above, access the web page:
When you do it first time, you are redirected to an installation wizard. Follow the steps.
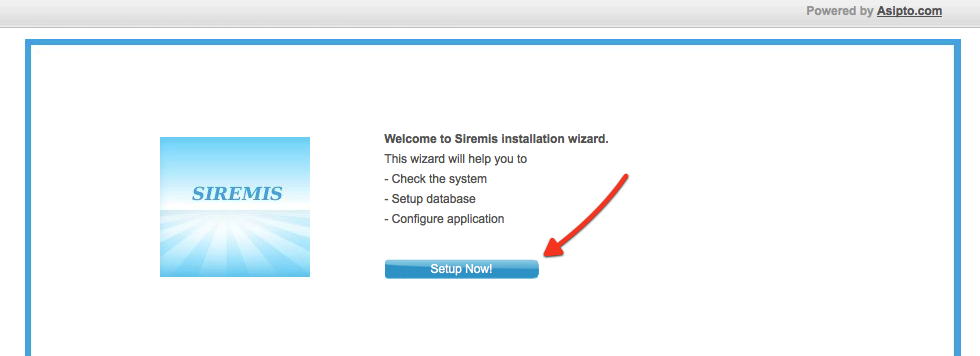
First Page
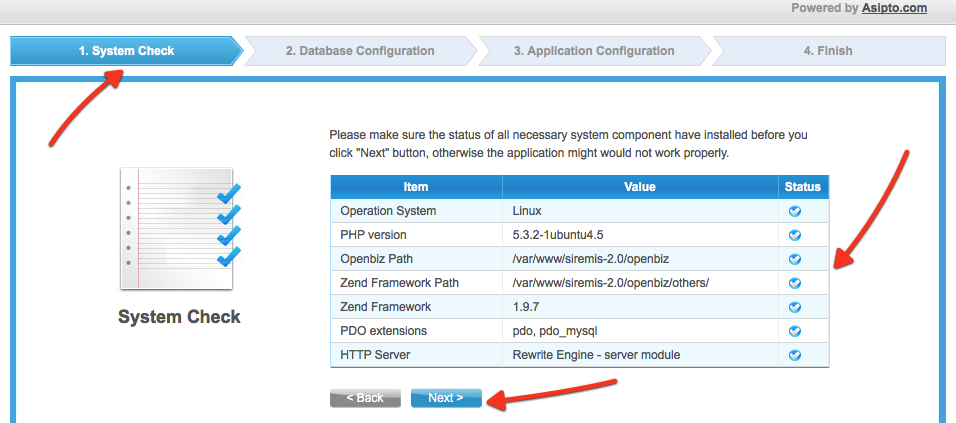
Step 1
First step shows the status of required items. You have to update local configuration until all the items are checked ok.
Step 2
In the second step you have to introduce the details to access Kamailio and Siremis database.
When you install Siremis first time, you probably have to check:
- Create Siremis Database - this create database 'siremis'
- Import Default Data - this imports initial data into database 'siremis'
- Update SIP Database - this updates the structure of Kamailio database for accounting and charts modules
- Replace DB Config - this updates Siremis configuration file with the details to access databases
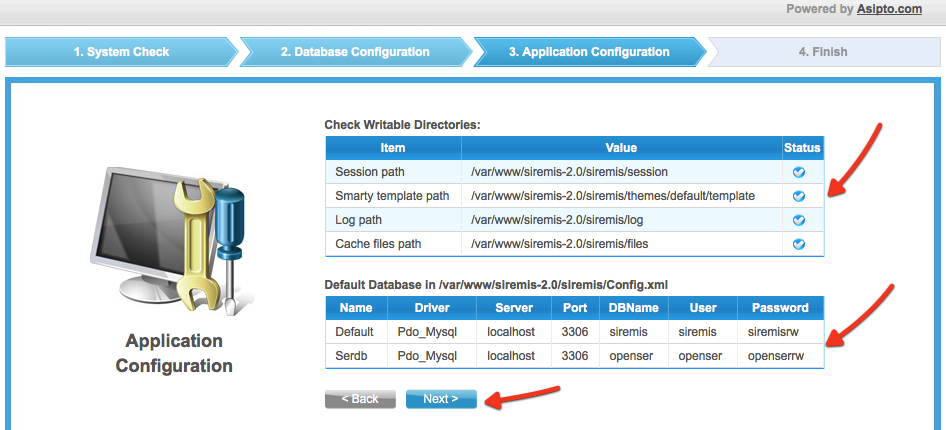
Step 3
This page presents a status report of installation, showing whether the required directories have writable access and summary of database access details.
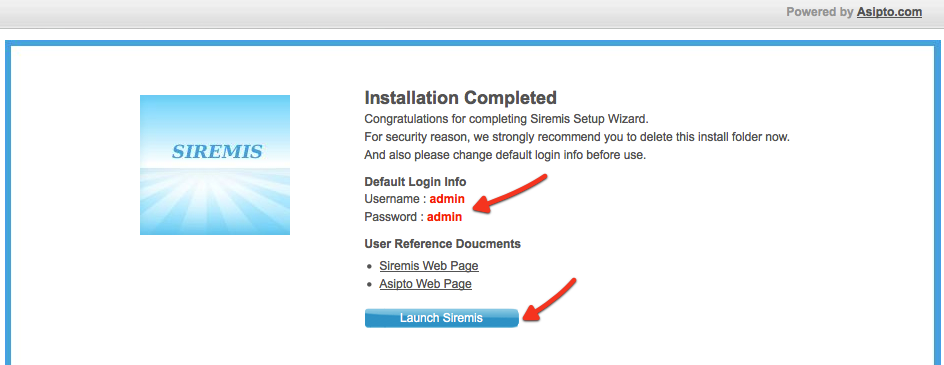
Step 4
This is the end of installation, presenting the username and password to login to Siremis. This page is automatically redirected to login page after a short period of time.
Login Page
Post Installation
- remove the install directory: siremis/install
If you want to run again installation wizard:
- restore directory: siremis/install
- remove file: siremis/install.lock
Start Using Siremis
- once you are logged in, the management of Kamailio is done from the SIP Admin Menu panel, the link to access it is in upper right corner
- first to do is to add your SIP server domain, under Server Services ⇒ Domain List. If you have a single domain Kamailio installation, with no checks of domain part inside the SIP server, you can simply introduce 127.0.0.1 as your domain
- then you can start the management of records used by Kamailio SIP Server
- add subscribers via Subscriber Services ⇒ Subscriber List
- manage records for routing services (dispatcher/load balancing, least cost routing, …) from Routing Services ⇒ …
- …
Siremis Components
These are special Siremis components that need further configuration in order to work:
Security Considerations
Siremis is an administration tool, it is recommended to:
- run it in a private network
- run it over HTTPS
- add extra protection at HTTP server or firewall layers (e.g., HTTP auth, IP restrictions, etc)


